Getting started
Get EditVolt installed and make your first AI-assisted edit in under five minutes.
Installation
macOS — Download EditVolt 0.4.4 (.dmg), or grab it from the download page.
Requires an Apple Silicon Mac (M1 or later) running macOS 12 Monterey or later. The build is signed with a Developer ID and notarized by Apple, so it opens without a Gatekeeper warning. Drag EditVolt to your Applications folder and launch it.
Windows — Download EditVolt 0.3.0 (.exe), or grab it from the download page.
Requires 64-bit Windows 10 or later. The installer sets EditVolt up for the current user, so it needs no administrator rights. This build is not yet code-signed, so Windows SmartScreen shows a one-time "Windows protected your PC" notice — choose More info, then Run anyway.
The Windows installer was rebuilt on 24 August 2026 with a wave of Windows-only fixes — the Claude Code CLI now spawns and reports its sign-in correctly, the agent finds folders given by drive path, commands run under PowerShell, and parallel model downloads no longer swap models. If you installed EditVolt on Windows before then, download the installer again and run it over your existing install.
Linux — not available yet. It is on the way; the download page is where it will appear first.
On macOS, EditVolt keeps itself up to date: it checks for new builds in the background and applies them on the next restart. Background updates are not published for Windows yet, so Windows builds are updated by downloading the installer again.
No account or sign-up is required — the IDE works fully without one. Signing in with GitHub or Google is optional; it creates an EditVolt account identified by your email address, and is never needed to use the editor or its AI features.
Open your first project
Open any folder with File → Open.
On first open, EditVolt builds a local semantic index of your codebase and seeds a .editvolt/ folder in the workspace for your rules, skills, subagents and commands. Indexing runs entirely on your machine — nothing is uploaded. See Codebase intelligence.
The Assistant panel
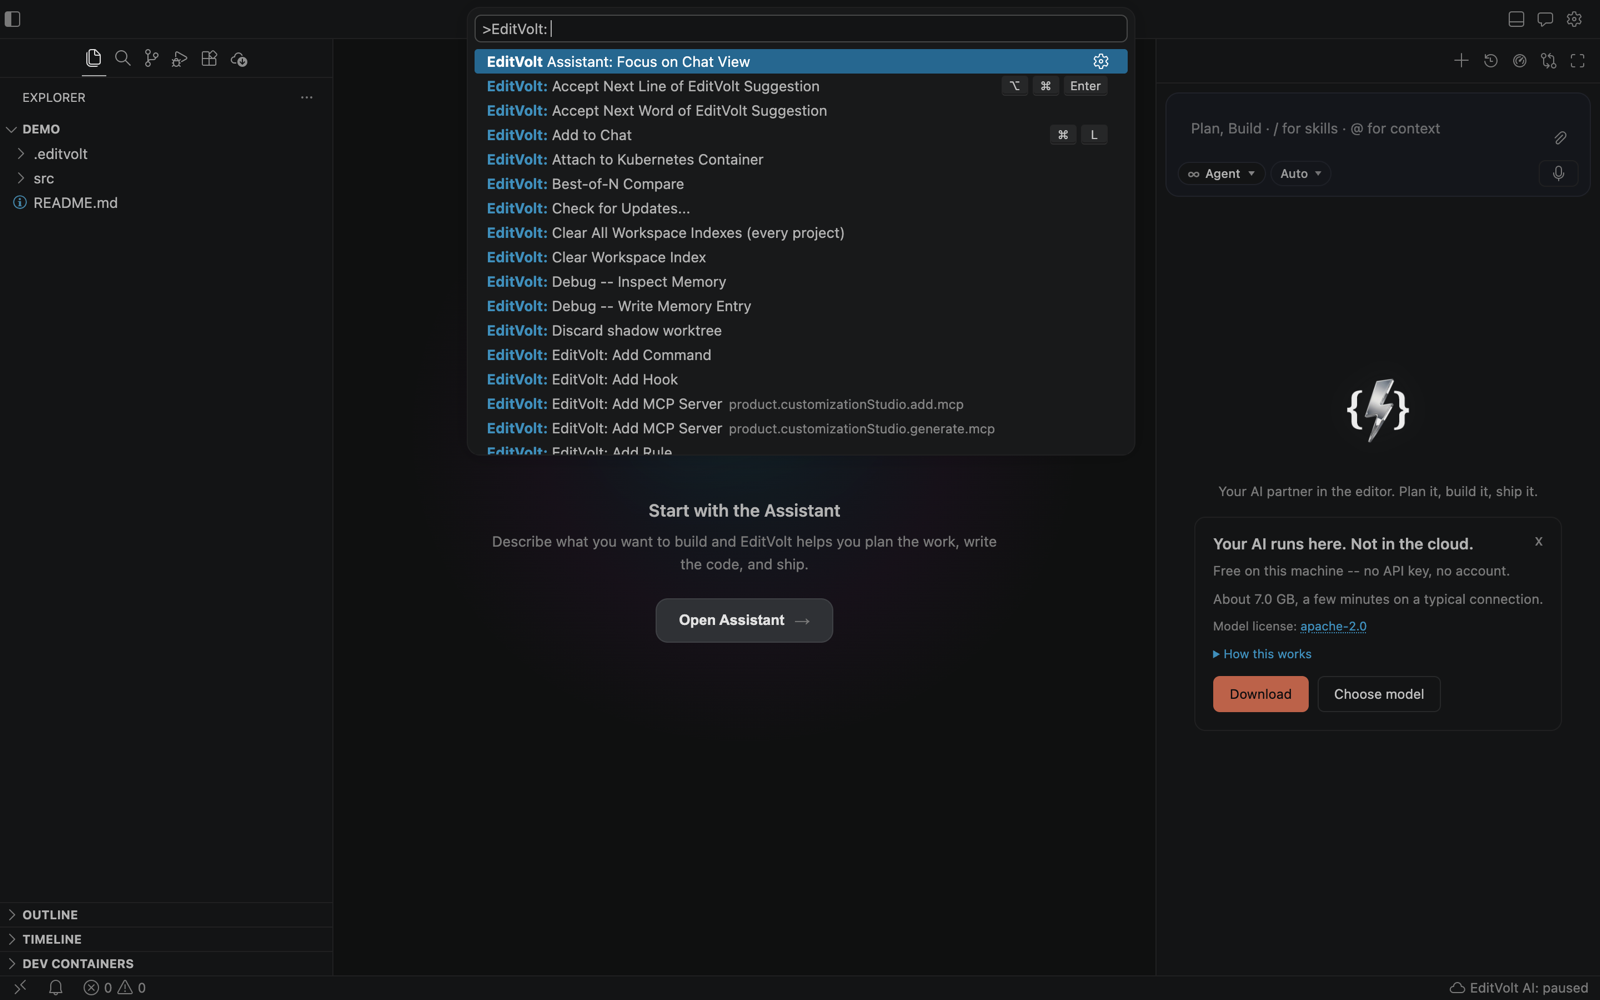
The Assistant lives in a side panel on the right. Open it from the activity bar, from the Open Assistant button on the welcome screen, or with the Command Palette command EditVolt Assistant: Focus on Chat View.
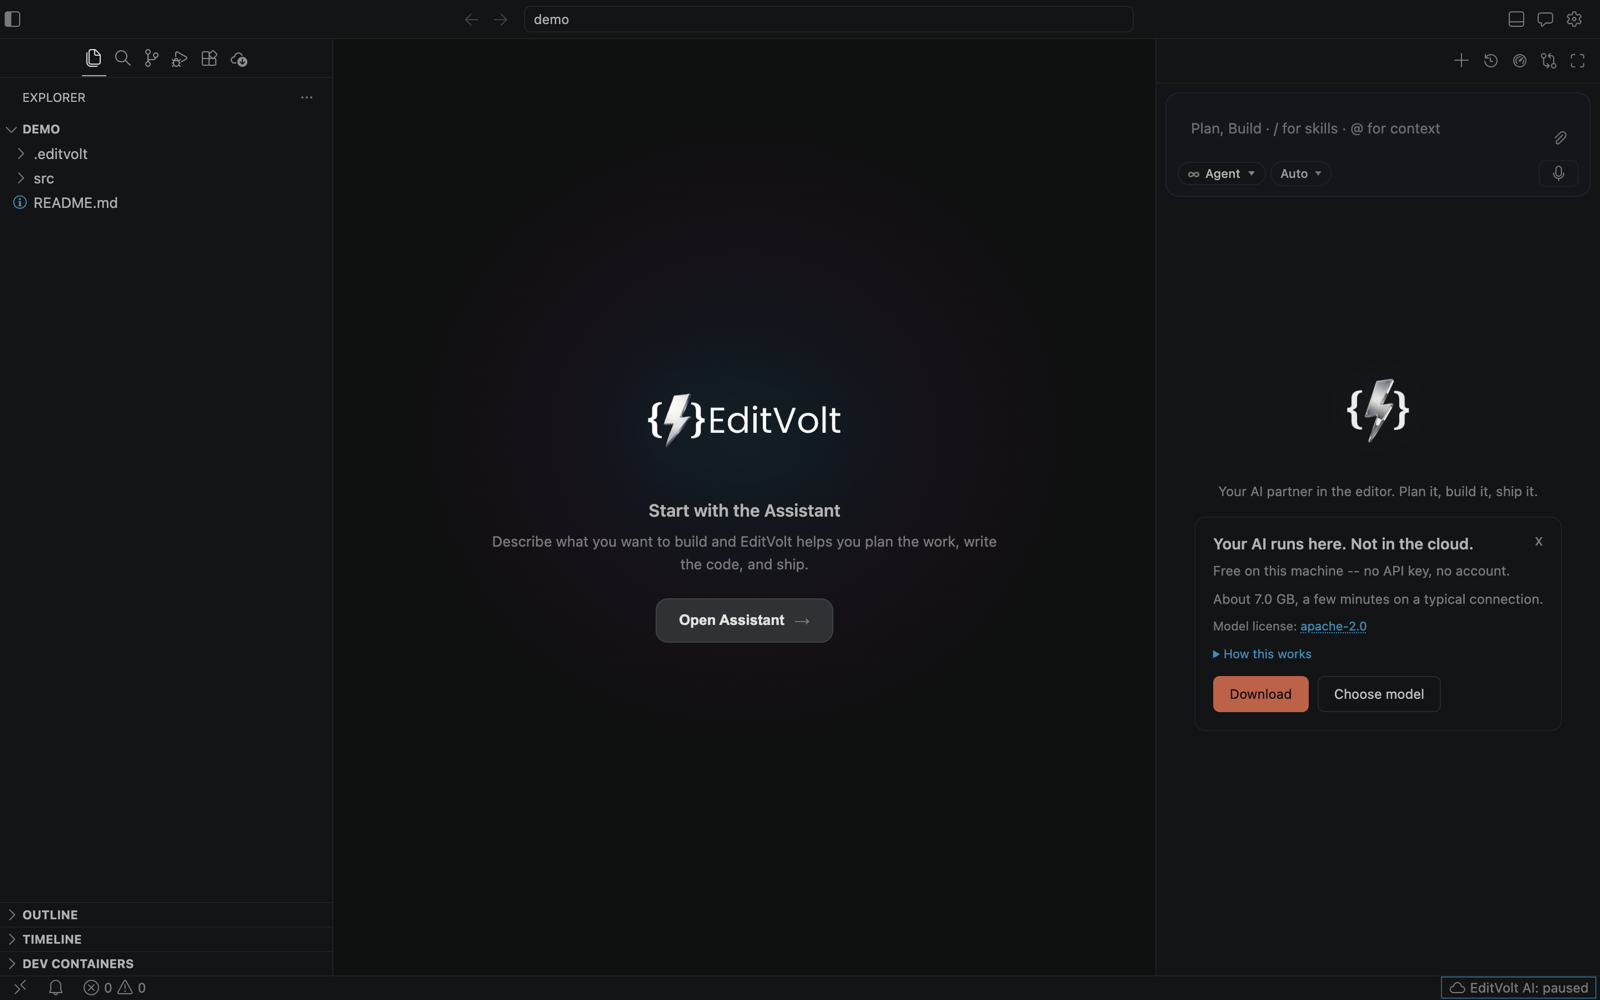
The composer at the top of the panel carries the controls you use most: a mode chip (Agent by default), a model chip (Auto by default), a paperclip for attachments, and a microphone for dictation. Type / for skills and commands, @ for context.
Connect a model (or don't)
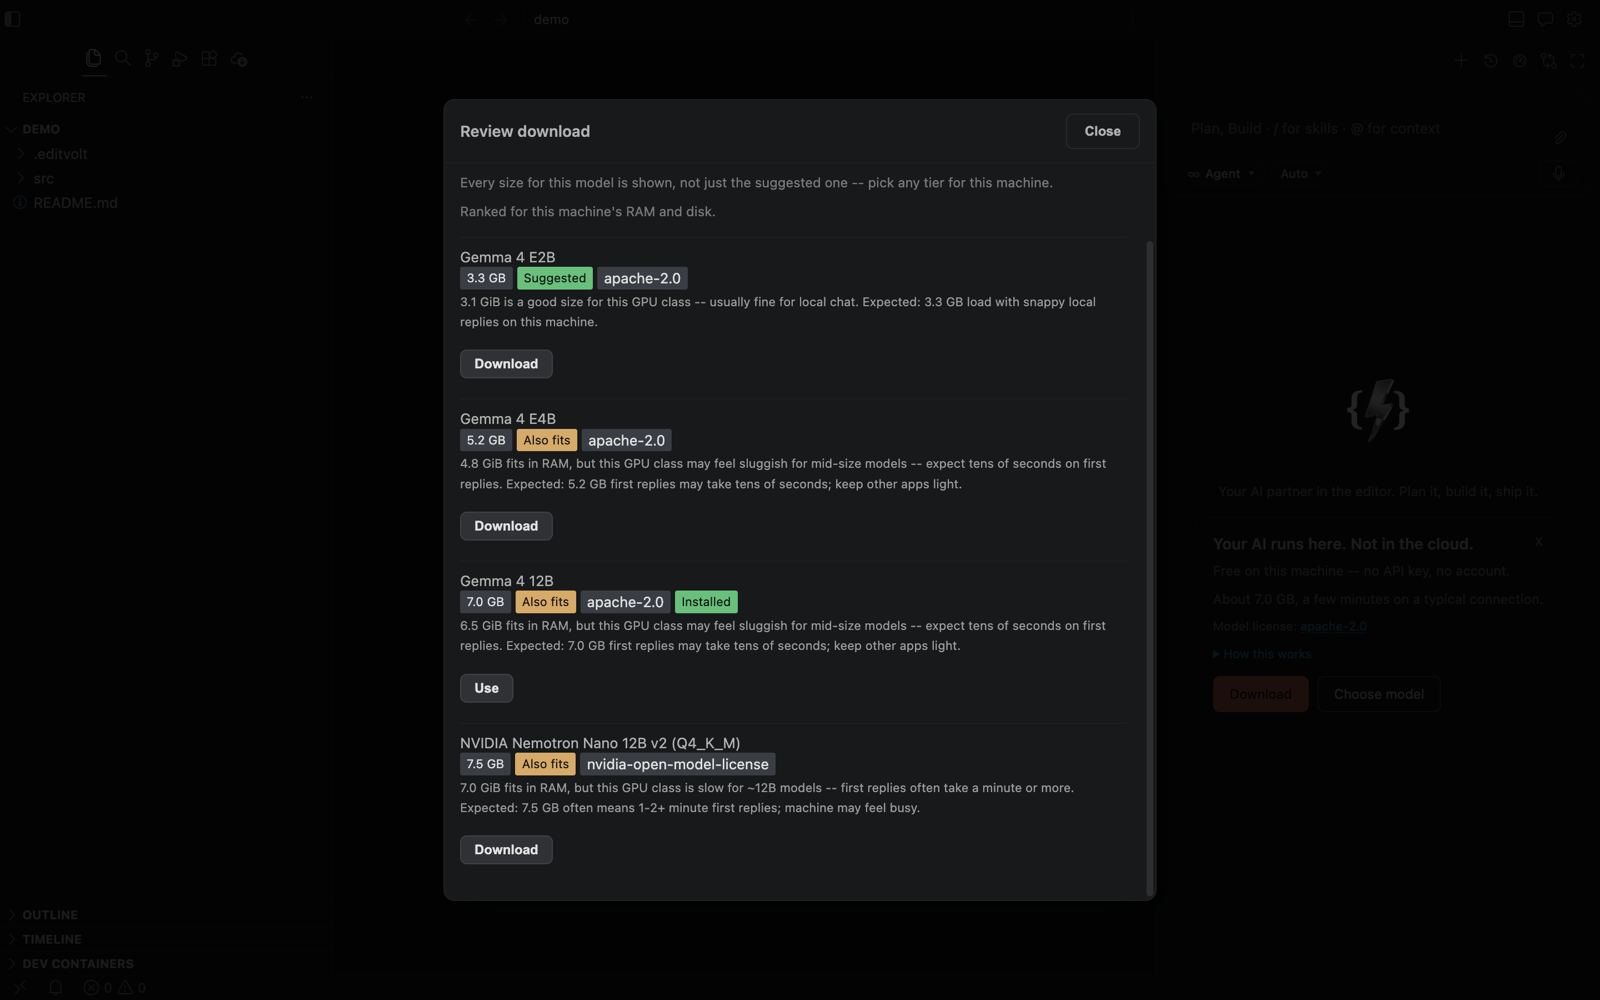
EditVolt ships with on-device models — you can use chat and the agent with no API key and no account. On first run it offers to download a local chat model sized for your machine; Choose model opens the full catalogue.
Inline completions likewise run on a bundled local engine with no key.
If you want frontier models instead, open EditVolt Settings → AI Models and either:
- add an API key for Claude, Gemini, Hugging Face, or any OpenAI-compatible endpoint,
- bridge your existing Claude Code CLI sign-in with one click, or
- point EditVolt at a local Ollama daemon.
See Models & providers for details.
The shortcuts that matter
| Action | macOS | Windows / Linux |
|---|---|---|
| Inline AI edit / refine | ⌘K (or ⌘I) | Ctrl K / Ctrl I |
| Terminal command generation | ⌘K in a terminal | Ctrl K |
| Add selection to chat | ⌘L | Ctrl L |
| Dictate into the composer | ⌘⇧Space | Ctrl ⇧Space |
| Cycle chat mode | ⇧Tab in the composer | ⇧Tab |
| Accept completion | Tab | Tab |
Everything EditVolt adds is also reachable from the Command Palette under the EditVolt prefix.
Remote development
EditVolt opens folders inside dev containers and Kubernetes containers as well as on your machine — the Dev Containers view sits in the Explorer, and EditVolt: Attach to Kubernetes Container is in the palette. Container engine, dotfiles, GPU availability, and SSH/GPG agent forwarding are configured under EditVolt Settings → Remote Development (product.devcontainers.*).
Coming from VS Code?
EditVolt is built on Code-OSS (baseline 1.131), so your keybindings, themes, and settings carry over. Extensions install from the Open VSX marketplace. You can also import your existing Cursor, Claude, or Copilot customizations — see Customization.